Tub-to-Shower Conversion: Options, Costs, and How the Process Works
A tub-to-shower conversion replaces a bathtub with a shower, usually in the same footprint. The result can be a standard shower with a low threshold, a walk-in shower, or a fully curbless, barrier-free design. People choose it for safety and accessibility, to make better use of a small bathroom, to cut cleaning time, or to replace a tub nobody uses, such as an oversized garden or jetted tub.
The right approach depends on the bathroom you have. Prefab kits and base inserts install quickly and cost less, while custom tile showers allow more design freedom but need more demolition, waterproofing, and time. The location of the existing drain and water supply lines has a large effect on how simple or expensive the job becomes, and curbless entries can require changes to the floor or subfloor.
This article explains what a conversion involves, compares the main types, walks through the process from measuring to finished fixtures, and covers cost drivers, timelines, safety features, design options, and the DIY-versus-professional decision. It also weighs the pros and cons, including the effect on resale value when a home would be left without a tub.
What Is a Tub-to-Shower Conversion?
A tub-to-shower conversion is a remodeling project that removes a bathtub, or covers it with a shower system, and installs a shower in its place. The new shower may be a standard enclosure with a low curb, a walk-in shower, a corner shower, or a curbless wet-room style layout.
The main appeal is easier entry. Stepping over a tub wall is difficult or unsafe for many people, especially those with limited mobility, so replacing the tub with a walk-in shower is a common aging-in-place upgrade. Other reasons include freeing floor space, simplifying cleaning, and swapping a worn or unused tub for something the household actually uses.
Projects vary in scope. A full tear-out removes the tub and surround and rebuilds the area. An over-tub acrylic conversion fits a new shower base and walls over or around the existing footprint with less demolition. A curbless conversion goes further, creating a sloped floor level with the rest of the bathroom. Each is covered in detail below.
Types of Tub-to-Shower Conversions
Tub-to-shower conversions fall into categories based on the installation method and the shower style: prefab kits, custom tile showers, and walk-in or curbless designs, with special considerations for larger garden, jetted, and corner tubs. Each differs in scope, customization, and how much of the bathroom must be rebuilt.
The layout you pick should fit the available space. Curbed showers, corner showers, and wet rooms each have different space demands, and a traditional center drain dictates where the pan sits and how the floor slopes. In a small bathroom, that can limit what is possible unless you move the drain or use a linear drain.
Prefab Shower Kits and Base Inserts
Prefab shower kits combine a pre-formed base, made of acrylic or PET, with wall panels, and they are sized to fit the footprint left by a standard 60-inch tub. They are the fastest and usually the least expensive route, and because there are fewer seams and joints than in tile, they have fewer places to leak.
Sizing depends on the tub dimensions and drain location, so measure before ordering. Doors and seats are available with many kits. Some PET shower pans are ready to tile: the foam pieces can be cut and assembled without custom fabrication, and they suit curbed or curbless showers and wet rooms. Pre-sloped versions can be paired with compatible linear drain systems.
- Pros: faster installation, lower cost, fewer leak points.
- Cons: limited customization of size, shape, and finishes, and sizing is tied to the tub opening and drain position.
Custom Tile Showers
A custom tile shower is built from scratch: the tub and surround are demolished, a new shower pan is formed and waterproofed, and tile is installed on the walls and floor. It offers the most design flexibility, including niches, built-in benches, and glass enclosures, but it costs more and takes longer than a kit.
Waterproofing is the key quality factor. Tile and grout are not waterproof on their own, so the membrane or liner beneath them keeps moisture out of the framing and subfloor. Drain choice also shapes the design. A traditional center drain forces the floor to slope in several directions, which limits layout options, while a wall-to-wall linear drain lets the floor slope one way and can sit against a wall or another convenient spot. Large-format tiles reduce the number of grout joints, which are where mold and grime tend to collect.
- Pros: nearly unlimited layouts, materials, and features.
- Cons: higher cost, longer timeline, and heavier reliance on skilled waterproofing.
Walk-In, Curbless, and Barrier-Free Showers
Walk-in, curbless, and barrier-free showers have a zero or very low threshold, so you can step or roll in without crossing a tub wall or raised curb. The floor slopes gently toward a drain, and a linear drain is a common choice because it allows a single slope.
A single-sloped floor simplifies installation and widens tile pattern choices compared with a multi-directional slope. Curbless showers with linear drains also ease maintenance by directing water one way, and the drain can be placed at the shower entrance to control flow. True zero-threshold entry may require recessing the floor or subfloor so the shower floor sits level with the bathroom. That adds structural work, which is one reason curbless projects usually call for a professional. These designs are the most useful for wheelchair and walker users because nothing blocks the way in.
Converting Garden, Jetted, and Corner Tubs
Garden, jetted, and corner tubs can all be converted, and their large footprints often allow a bigger shower than a standard tub would. The extra space may hold a bench, a wider entry, or linen storage built into the freed area.
These tubs are usually set in a framed deck or platform, so conversion involves removing the deck, reframing, and often relocating plumbing, since drains and supply lines may not sit where a new shower needs them. Corner tubs add an angled footprint that may suit a corner shower layout. In mobile homes, lightweight materials, floor strength, and smaller kit sizes are important considerations, so confirm that the floor can support the new base before choosing a system.
How Does a Tub-to-Shower Conversion Work?
A tub-to-shower conversion works by measuring the space, removing the tub and surround, adjusting the plumbing, installing a shower base and wall system, and finishing with fixtures and sealing. Kit-based projects follow this order with prefab parts, while tile projects add building and waterproofing the pan and setting tile.
The existing drain and water supply locations strongly affect feasibility and cost. Keeping them where they are keeps the job simple. Relocating pipes can be complex, so a professional consultation is wise before settling on a layout. Linear drain outlets can reduce the need for extensive plumbing modifications because of their flexible positioning. The overall sequence is:
- Measure the alcove, drain, valve, and walls, then choose a style.
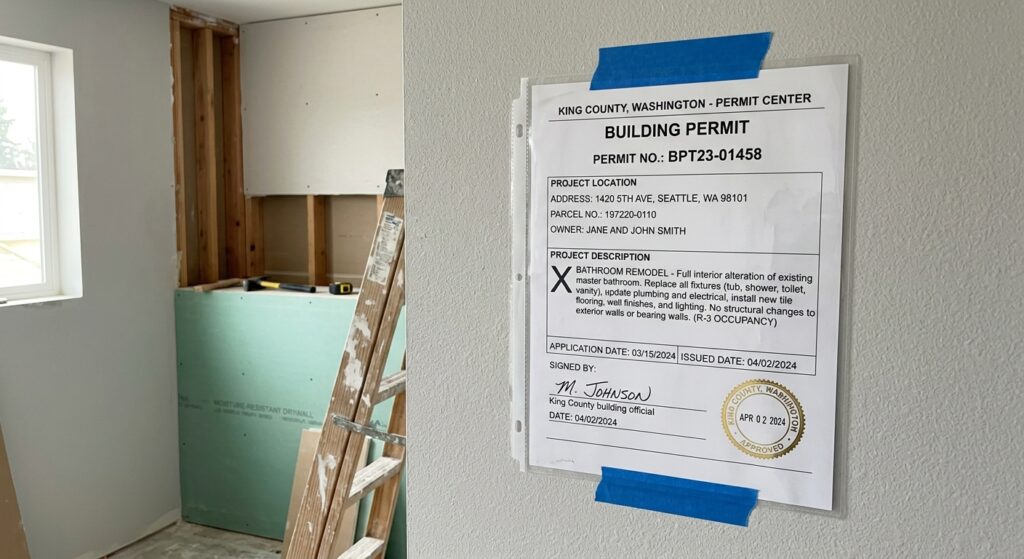
- Check plumbing, subfloor, and permit requirements.
- Remove the tub and surround and inspect what is underneath.
- Adjust the drain and supply lines as needed.
- Set and level the base or pan, then waterproof.
- Install wall panels or tile.
- Fit the showerhead, faucet, door, and accessories, then seal and cure.
Measuring and Planning
Measuring and planning means recording the alcove dimensions, drain position, valve location, and wall condition, then confirming that the plumbing, subfloor, and permit requirements support your chosen layout. This step determines which kit fits or whether custom work is needed.
Measure the width, depth, and height of the alcove, and note exactly where the drain sits relative to the walls, since kit sizing depends on both tub dimensions and drain location. Check the condition of the walls and the floor beneath the tub where you can, and ask your local building department whether a permit is required, particularly if plumbing will move. Decide early on a style and layout, and allow room for extras such as a bench or body sprays, because adding them later can mean reopening finished walls.
Demolition and Plumbing Changes
Demolition removes the tub and surround, exposing the drain, supply lines, wall framing, and subfloor so the plumbing can be adjusted for the new shower. Once things are opened up, inspect the walls and subfloor for rot or mold, because long-term tub leaks often hide damage.
Plumbing changes depend on the design. Moving the drain may involve changing the drain outlet configuration, including the drain length and height, to match the new base. The valve and faucet are typically swapped as well, since tub fixtures sit lower than a showerhead setup requires. Any damage found must be repaired before the new base goes in, which is why hidden problems can raise the final cost.
Installing the Base, Walls, and Fixtures
Installing the base, walls, and fixtures starts with setting and leveling the shower base or pan, then waterproofing, adding wall panels or tile, and finally fitting the showerhead, faucet, door, and accessories. Order matters because each layer protects the one beneath it.
The base must be level and properly supported before waterproofing and wall installation. In a tile shower, a waterproofing liner, such as PVC or CPE, goes beneath the finish surface. Wall panels or tile follow, then the showerhead, faucet, hose, door, and accessories. Finally, sealing and curing steps must be completed before you use the shower, since sealants and setting materials need time to cure before they are exposed to water.
How Much Does a Tub-to-Shower Conversion Cost?
A tub-to-shower conversion costs anywhere from a modest kit installation to a substantial custom project, and the final figure depends on the method, plumbing changes, materials, size, labor, and region. Because projects differ so much, there is no single reliable price, and comparing several written estimates is the best way to see what your bathroom requires.
The method sets the baseline. Prefab kits are generally the least expensive, over-tub acrylic systems fall in a similar low-to-moderate range, and custom tile and curbless showers cost more because they require more labor, materials, and sometimes structural work.
| Method | Relative cost | What affects it |
|---|---|---|
| Prefab kit or base insert | Lower | Kit size, door and seat options, labor if not DIY |
| Over-tub acrylic system | Lower to moderate | Wall and base style, fixtures, installer rates |
| Custom tile shower | Moderate to higher | Tile, waterproofing, niches or benches, glass, labor |
| Curbless or barrier-free | Higher | Floor or subfloor recessing, linear drain, plumbing relocation |
Plumbing relocation is often the largest variable, since moving a drain or supply line means more labor and possibly floor work. Tub size and shape matter as well, because larger or irregular tubs, like garden and corner models, take more effort to remove and rebuild around. Material choices, regional labor rates, and repairs found after demolition, such as rot or mold, add to the total. To keep costs down, retain existing drain and valve positions, choose a kit over custom tile, and ask for itemized estimates showing scope, materials, and repairs. Many installers also offer financing, which spreads the cost over time.
How Long Does a Tub-to-Shower Conversion Take?
A kit or acrylic conversion can typically be finished in one to a few days, while a custom tile shower usually takes one to several weeks. The difference comes from the extra steps in tile work, including building the pan, waterproofing, setting tile, and allowing each layer to cure.
Several factors can stretch either timeline. Structural repair for rot or mold discovered after demolition adds days. Curing time for waterproofing, mortar, grout, and sealants cannot be rushed. Permits and inspections may add waiting periods, and special-order materials or custom glass can have lead times that delay the start or finish. Moving plumbing also lengthens the schedule, particularly when floor or subfloor work is required for a curbless entry.
Safety and Accessibility Features to Include
The most useful safety and accessibility features for a converted shower are a low or no threshold, grab bars, built-in seating, a handheld showerhead, and slip-resistant flooring. Together they reduce fall risk and make bathing easier for seniors and anyone with limited mobility.
Many of these are easiest to add during the conversion, when walls are open and can be reinforced to hold grab bars and benches. Plan clearances early too: doorway width and the space inside the shower should accommodate a walker or wheelchair if either is used.
- Low or no threshold: entering the shower without stepping over a tub rail removes the most common tripping point.
- Grab bars: securely anchored bars give support when entering, standing, and turning.
- Built-in seating: a bench or seat lets users sit while bathing and conserves energy.
- Handheld showerhead: it allows seated bathing and easier rinsing without standing in one spot.
- Slip-resistant flooring: textured surfaces and smaller tile with more grout lines add traction on wet floors.
- Clearances: wide entries and enough interior room for mobility aids make the shower usable as needs change.
Design Ideas and Accessories
Design choices in a converted shower include wall material, enclosure type, drain style, fixtures, and storage features such as niches and benches. Prefab systems offer a range of colors, finishes, and wall options, while custom tile opens up nearly unlimited patterns and materials.
Seamless wall panels give a clean look with few joints to clean, and tile offers more variety. Glass doors or panels make a small bathroom feel more open, while a curtain or rod costs less and works well in tight alcoves. Decorative linear drains come in several finishes and designs and can match your faucet and hardware. Other options include:
- Built-in niches for shampoo and soap, which avoid hanging caddies.
- A corner or fold-down bench for sitting or shaving.
- Showerheads, hand showers, and body sprays, with enough room planned for them.
- Shower doors, rods, and shelves to complete the look.
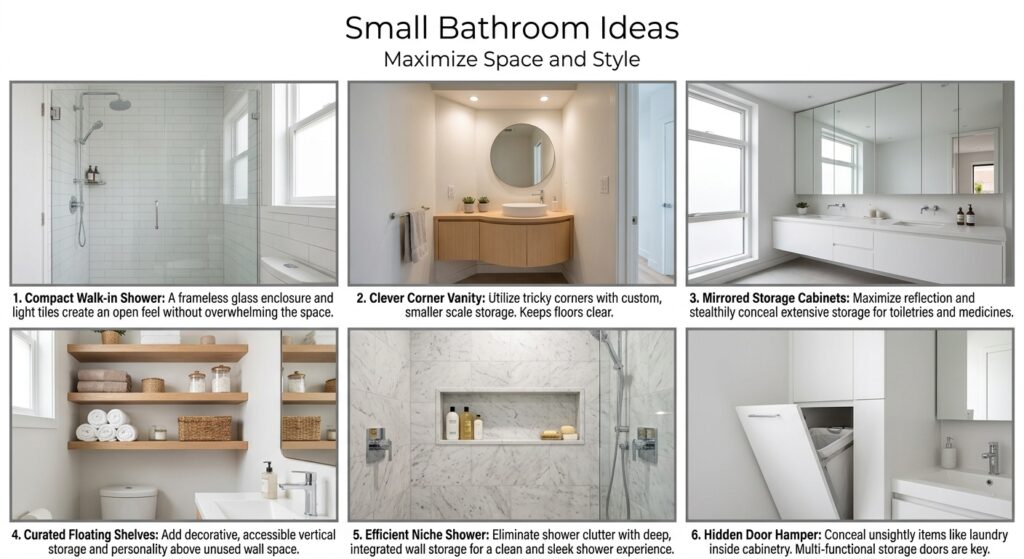
In a small bathroom, a clear glass enclosure, light-colored large-format tile, and a corner shower layout help preserve open floor space. Before-and-after galleries are useful for seeing how these choices play out in real bathrooms.
DIY or Professional Installation?
Prefab kit installation is the most realistic DIY option, while plumbing relocation, waterproofing, and curbless conversions should be handled by professionals. The deciding factor is how much structural and plumbing work the project involves and how costly a mistake would be.
Poor waterproofing or an incorrect drain connection can cause leaks that damage the subfloor and walls, sometimes without visible signs until damage is extensive. Code compliance and permits are other concerns, and professional installation may also matter for product warranties. If you hire, ask for estimates that detail scope, materials, and any repairs, and compare more than one contractor or company before committing.
- Is the existing drain and valve location staying in place?
- Does the plan involve moving plumbing or modifying the floor?
- Is the shower tiled, requiring a waterproofed pan?
- Do you have the tools and experience to cut, level, and seal?
- Does the estimate itemize labor, materials, and potential repairs?
If the answers point to unchanged plumbing, a prefab kit, and basic tool skills, DIY is feasible. Otherwise, professional help is the safer choice.
Pros and Cons of Converting a Tub to a Shower
Converting a tub to a shower improves safety and accessibility, frees space, and simplifies cleaning, but it removes the option to bathe or soak and can affect resale if the home has no other tub. Weighing these trade-offs against how your household actually bathes is the key to the decision.
Households with young children, or buyers who value a soaking tub, may see the loss as significant. If resale matters, keeping at least one tub in the home is a sensible safeguard.
| Pros | Cons |
|---|---|
| Easier, safer entry through walk-in access | No bath for soaking or for bathing young children |
| More usable space in the bathroom | Possible resale impact if it is the home’s only tub |
| Easier cleaning, especially with fewer grout joints | Cost and disruption of demolition and plumbing work |
| Accessibility features can be built in | Hidden damage may be uncovered and add expense |
Frequently Asked questions
Does converting a tub to a shower add value?
It can, but the effect depends on the quality of the work and the buyer. A well-done conversion that improves accessibility or space may appeal to many buyers, while a home without any tub may be less attractive to some, such as families with small children.
Can any tub be converted?
Most tubs can, including garden, jetted, and corner models. Larger or deck-mounted tubs take more work because of framing and plumbing relocation, and mobile homes need a floor that can support the new base.
Do I need a permit?
Permit requirements depend on your local building rules, and they are more likely to apply when plumbing moves or the floor is altered. Contact your local building department before starting.
Can I convert without changing the plumbing?
Often yes, if the new shower uses the existing drain and valve locations, as many kits do. If the layout requires a different drain position, plumbing changes are needed, though linear drains can reduce how extensive they are.